Laptop Case – Disassembly & Installation Guide
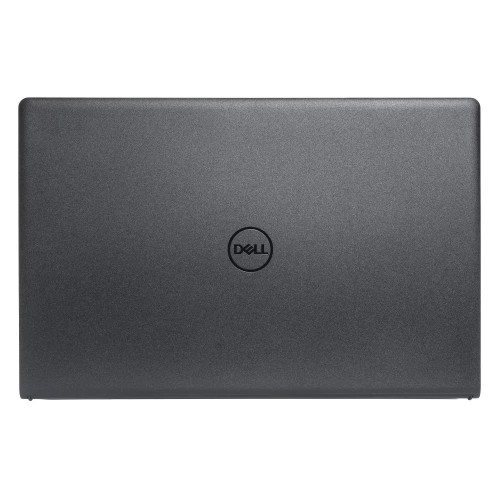
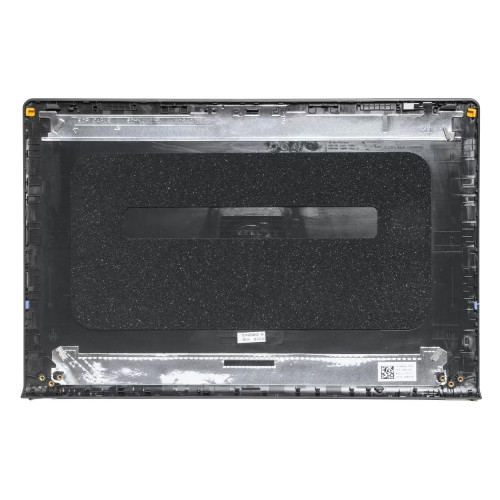
DELL Inspiron 3520 3521 3525 3530 3535 LCD Rear Top Lid Back Cover A case 0VW3N0 (Part Number: 0VW3N0) is a replacement laptop case component.
This guide provides step‑by‑step instructions for removing the old part and installing the new one,
along with critical precautions and troubleshooting for common issues.
Technical Specifications:
- Part Number (PN): 0VW3N0
- SKU: LT-10027912
- Product Status: Brand New / OEM
- Warranty: 90‑day replacement
Before You Begin – Essential Preparations:
- Power off the laptop completely and disconnect the AC adapter.
- Remove the battery if it is removable, or disconnect the internal battery (refer to your service manual).
- Prepare your tools: small Phillips screwdrivers (various sizes), a plastic pry tool (spudger), tweezers, and an anti‑static wrist strap (recommended).
- Work on a clean, static‑free surface – use an ESD‑safe mat if available.
- Organize your screws – use a magnetic mat or labeled containers to avoid mixing up different screw types.
- Consult your laptop's service manual – disassembly steps vary by model. This guide provides general principles.
General Disassembly Principles (Applies to All Case Types):
- Always remove screws in the correct order – some cases have hidden screws under rubber feet, labels, or covers.
- Use plastic tools for prying – never use metal tools as they will damage the plastic clips and leave scratches.
- Work gently and patiently – forcing parts can break clips or crack the case.
- Take photos during disassembly – this helps you remember screw locations, cable routing, and component positions.
- Keep screws organized – different lengths and thread types are often used; mixing them up can strip threads or damage components.
Disassembly & Installation – Step by Step:
- 1. Bottom Case (D-cover):
- Remove all visible screws from the bottom – some may be hidden under rubber feet or stickers.
- Use a plastic pry tool to carefully separate the bottom case from the palmrest, starting from the front edge.
- Work around the perimeter gently – listen for clips releasing.
- Lift the bottom case straight up – be aware of any cables that may still be attached (e.g., speaker cables, fan cables).
- To install: align the new bottom case, press around the edges to engage all clips, and re‑install all screws.
- 2. Palmrest (C-cover / Upper Case):
- After removing the bottom case, disconnect all cables connecting the palmrest to the motherboard (keyboard cable, touchpad cable, power button flex, etc.).
- Remove all screws securing the palmrest to the chassis.
- Carefully pry the palmrest away from the chassis, starting from the front edge.
- Lift the palmrest straight up – it may have fragile clips on the sides.
- To install: transfer any components (touchpad, keyboard, fingerprint reader) to the new palmrest if needed, then reverse the steps.
- 3. LCD Back Cover (A-cover):
- First remove the bezel (B-cover) – gently pry it away from the screen starting from the inner edge.
- Disconnect the LCD panel and remove it from the back cover.
- Disconnect the Wi-Fi antennas and camera cable from the back cover.
- Remove the hinge screws – carefully detach the hinges from the back cover.
- To install: transfer hinges and components to the new back cover, then reverse the steps.
- 4. Bezel (B-cover):
- With the LCD back cover opened, gently pry the bezel away from the LCD panel using a plastic tool.
- Start from the inner edge and work around carefully – the bezel is thin and fragile.
- Some bezels are held by double‑sided tape – use gentle heat (hair dryer on low) to soften the adhesive if needed.
- To install: align the new bezel carefully, press firmly around the edges, and ensure all clips engage.
Critical Precautions – Avoid These Common Mistakes:
- Never force plastic clips – they break easily. Use gentle, even pressure.
- Check hidden screws – if the case doesn't separate, there is likely a screw you missed. Don't force it.
- Protect the screen – when working on the LCD area, place a soft cloth over the screen to prevent scratches.
- Disconnect cables carefully – use the latch or pull tab, never pull on the wires themselves.
- Reconnect cables with correct orientation – take a photo before disconnecting to ensure proper alignment.
- Don't over‑tighten screws – tighten just until snug. Over‑tightening can strip threads or crack plastic.
- Use the correct screwdriver size – a slightly too‑large or too‑small driver can strip the screw head.
Common Problems & Solutions After Installation:
- Case won't close completely / gaps visible:
- Check for trapped cables – a wire may be pinched between the case layers.
- Verify all clips are fully engaged – press firmly around the edges to snap all clips into place.
- Check that all screws are installed and properly seated.
- Screen not working after LCD back cover replacement:
- Check the LCD cable connection – it may be loose or not fully inserted.
- Verify the cable is not pinched or damaged during installation.
- Check that the cable is inserted with the correct orientation (contacts facing the right direction).
- Keyboard or touchpad not responding:
- Check the keyboard and touchpad cables – they may have been disconnected during palmrest removal.
- Ensure the cables are fully seated and the latches are closed.
- Verify cable orientation – reversing the cable can cause failure.
- Wi‑Fi not working after back cover replacement:
- Check the antenna connectors – they may be loose or disconnected.
- Ensure the antenna cables are routed correctly and not pinched.
- Clicking or squeaking sound after reassembly:
- A clip may not be fully engaged – press around the case to locate the loose area.
- A screw may be loose – check all screws are tightened.
- Rubber feet not sticking:
- Clean the surface with alcohol before applying new rubber feet.
- Use replacement rubber feet if the originals are worn or lost.
When to Contact Us for Help:
- If you encounter resistance during disassembly and can't identify the cause.
- If you have missing or damaged screws and need replacements.
- If you suspect the replacement case is the wrong color or does not match the original.
- If you need advice on transferring components (hinges, speakers, antennas) to the new case.
- If you are unsure about any step and want confirmation before proceeding.
Need help with disassembly or installation? Send us a clear description of the issue (and photos if possible) – our support team will guide you through the process. For custom orders or assistance, email us at email.